
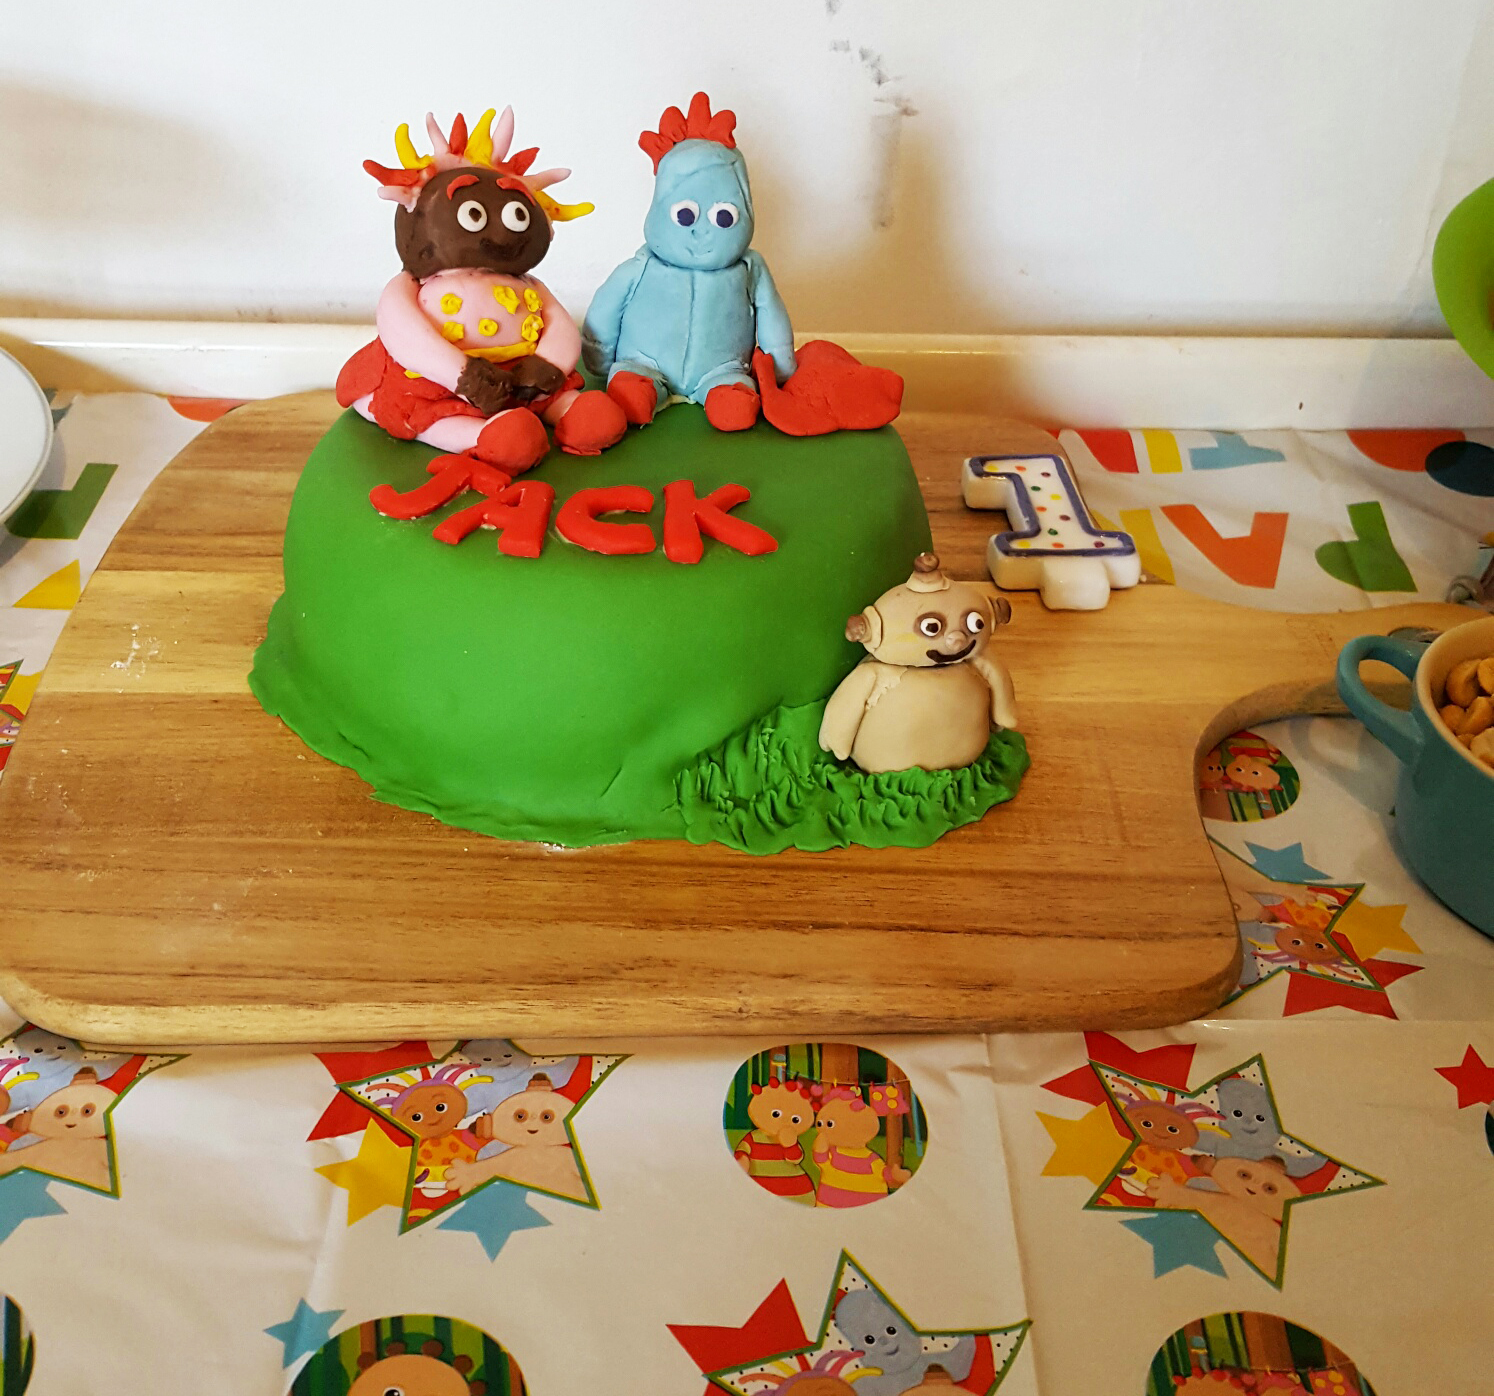
Here’s how to make your miniature human an In The Night Garden birthday cake…
As my friends and family will attest, I do NOT bake. I have never successfully made a cake before. In fact, the last time I attempted it, it came out burnt on top and raw in the middle so I had to cut out the middle and pretend I’d purposefully created a ‘doughnut’ design.
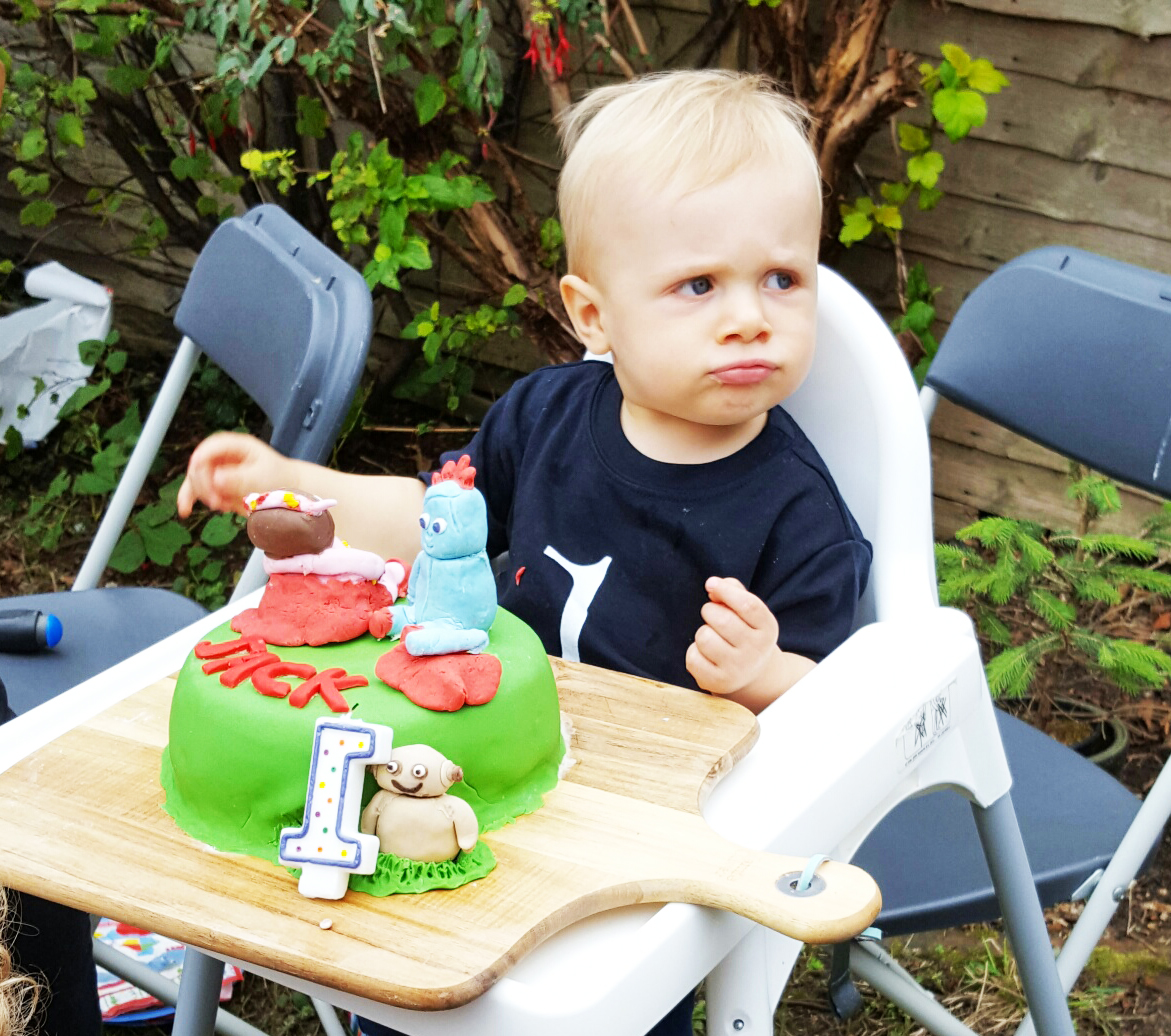
However, I was determined to make Jack a birthday cake from scratch for his first birthday party, and as he loves In the Night Garden, particularly the peculiar blue fella that is Iggle Piggle, I decided to go with the theme.
While my cake making skills were non-existent, I figured making an edible cake wouldn’t be too tricky, but the icing figures presented more of a challenge. I started making them around three to four weeks ahead in case I needed multiple attempts. In truth, they took so long and were so fiddly that there was no way I was going to bother trying again, no matter how badly they came out.
Here’s what about two hours of modelling achieved on my first evening’s work. I kid you not…
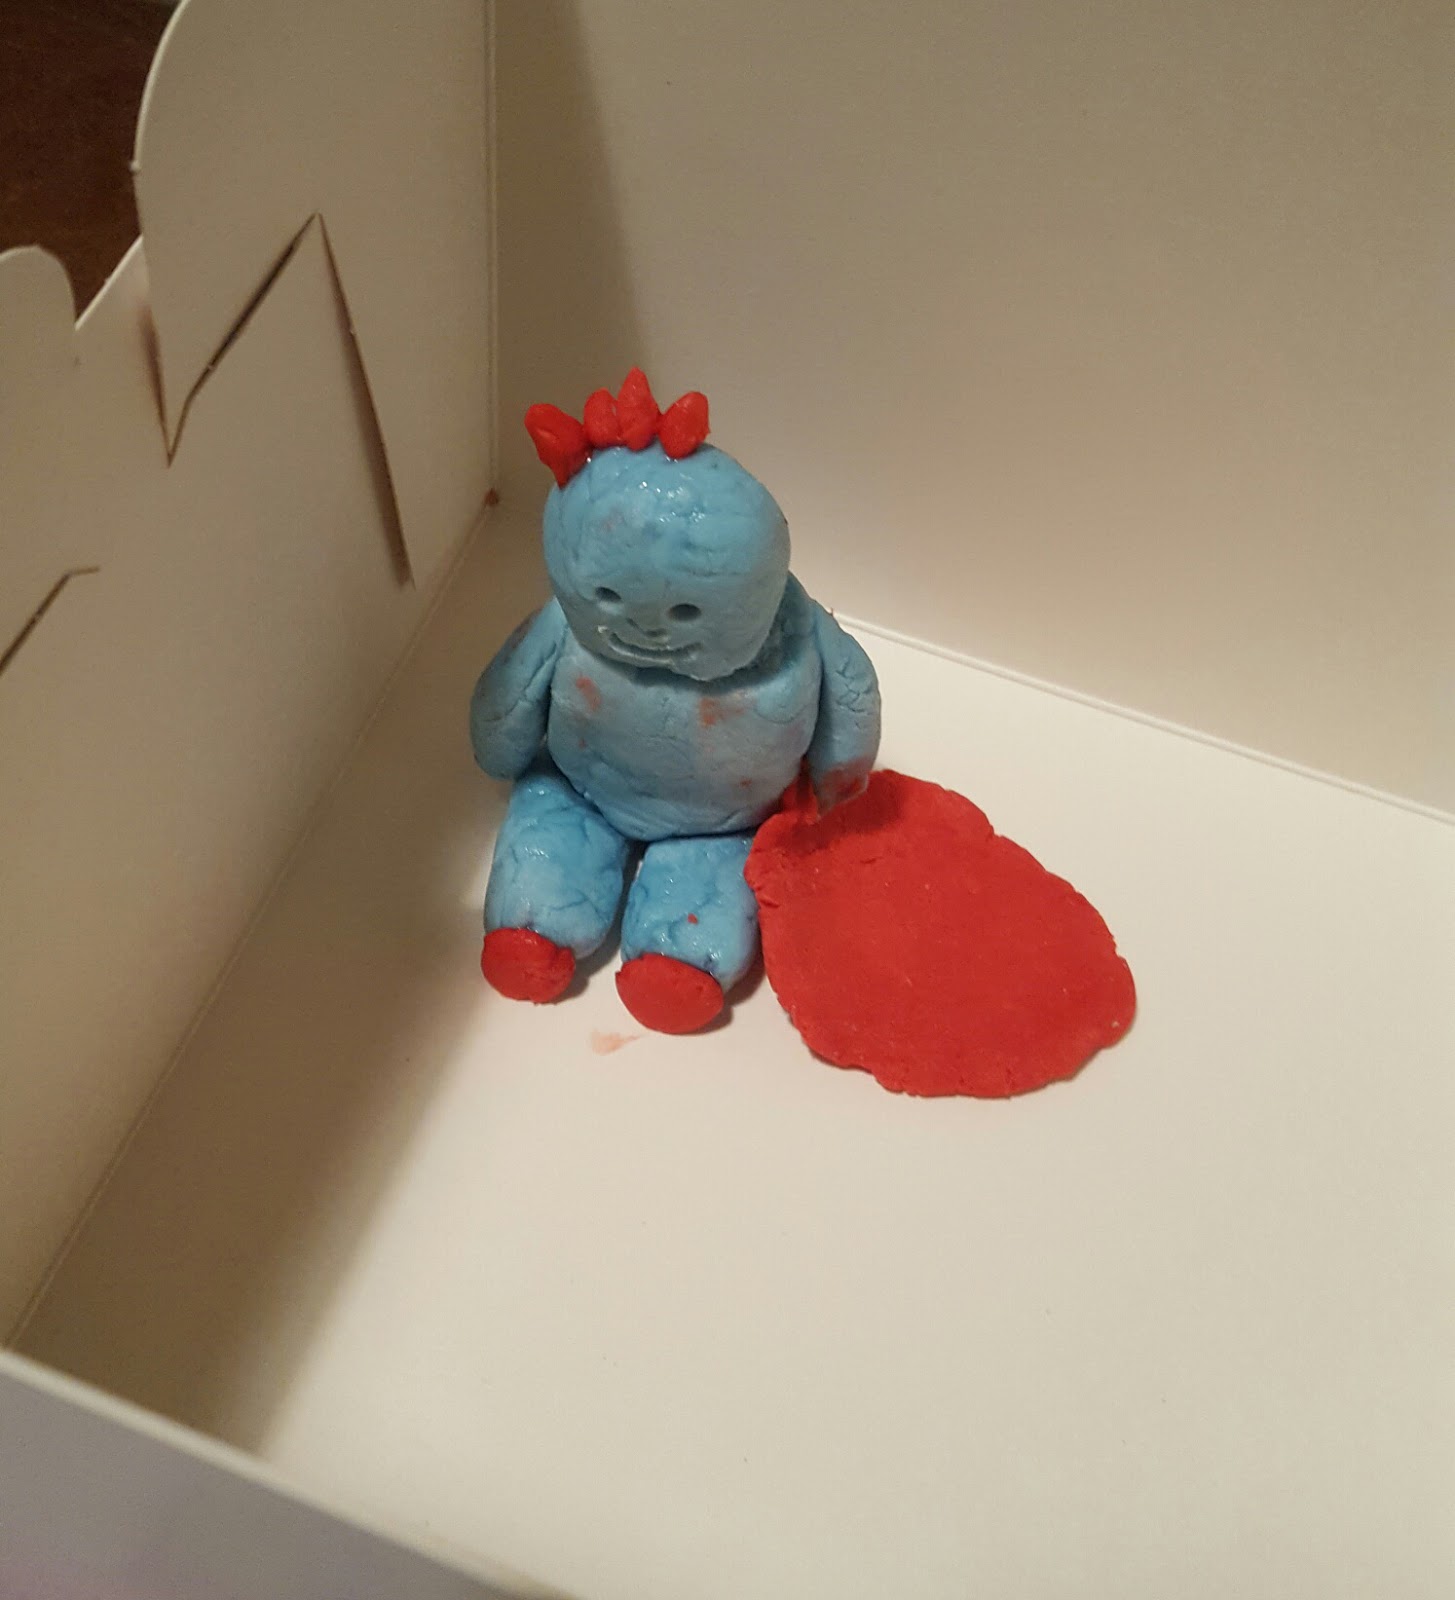
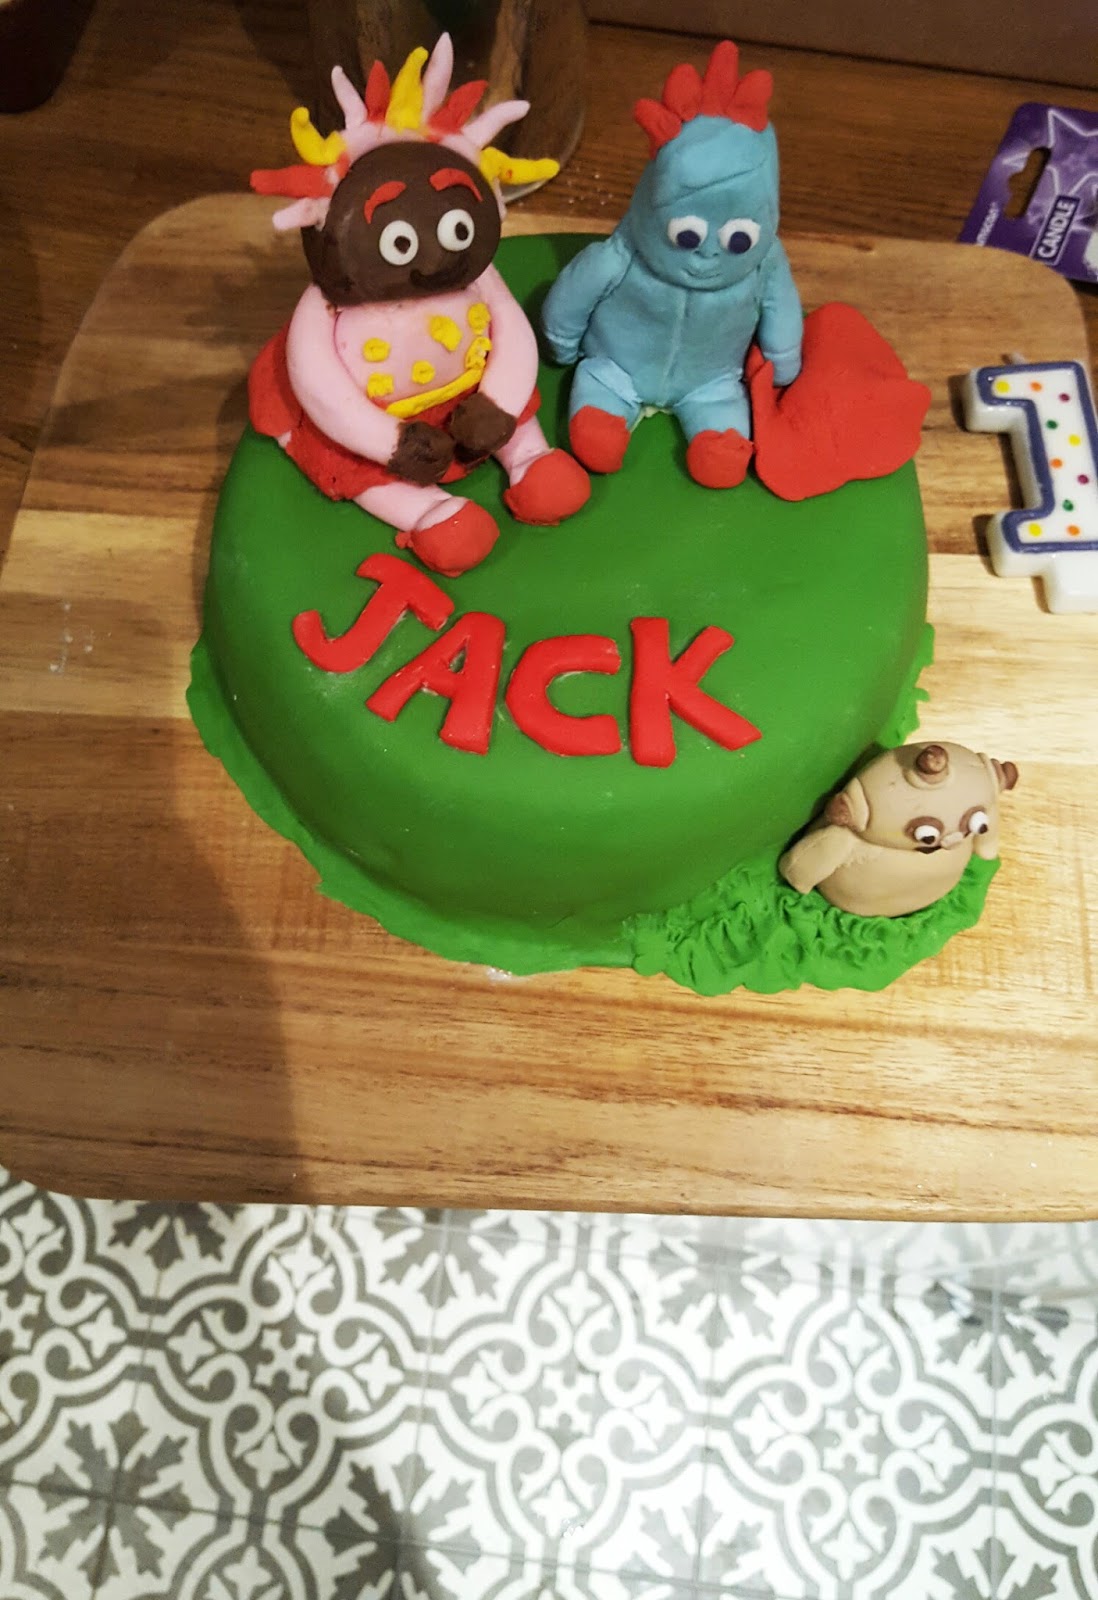
But I persevered, and after several more evenings of modelling, I had a mini Iggle Piggle, Upsy Daisy and Makka Pakka to top an as-yet-unmade cake.
If you’re thinking of trying your hand at fondant icing models, here are some tips…
- Allow a lot more time that you’d think you’d need. It’s really, really fiddly.
- Buy the special modelling icing, rather than using royal icing or ready-to-roll, which will melt too easily and won’t hold its shape well.
- It’s pretty frustrating. Prepare to do a lot of swearing. (Put kids to bed first.)
- If the icing is too dry and keeps cracking, have some Flora to hand to make it slightly more sticky and pliable.
- Flora is also great for sticking two shapes together, just rough up the edges you want to stick and apply a little Flora.
- If you’re working with white icing, keep baby wipes to hand to make sure other icing colours don’t
- Keep finished models out to dry, rather than putting in an air-tight container or the fridge. A cardboard cake box is ideal.
- Don’t worry if they look absolutely nothing like they’re supposed to. Say you made them with the kids as a ‘craft project’.
In terms of the actual cake, I followed a traditional Victoria’s sponge recipe, using 3 eggs and 6 oz of caster suger, self-raising flour and butter, plus a teaspoon of baking powder. I baked for 20 minutes at 180 degrees.
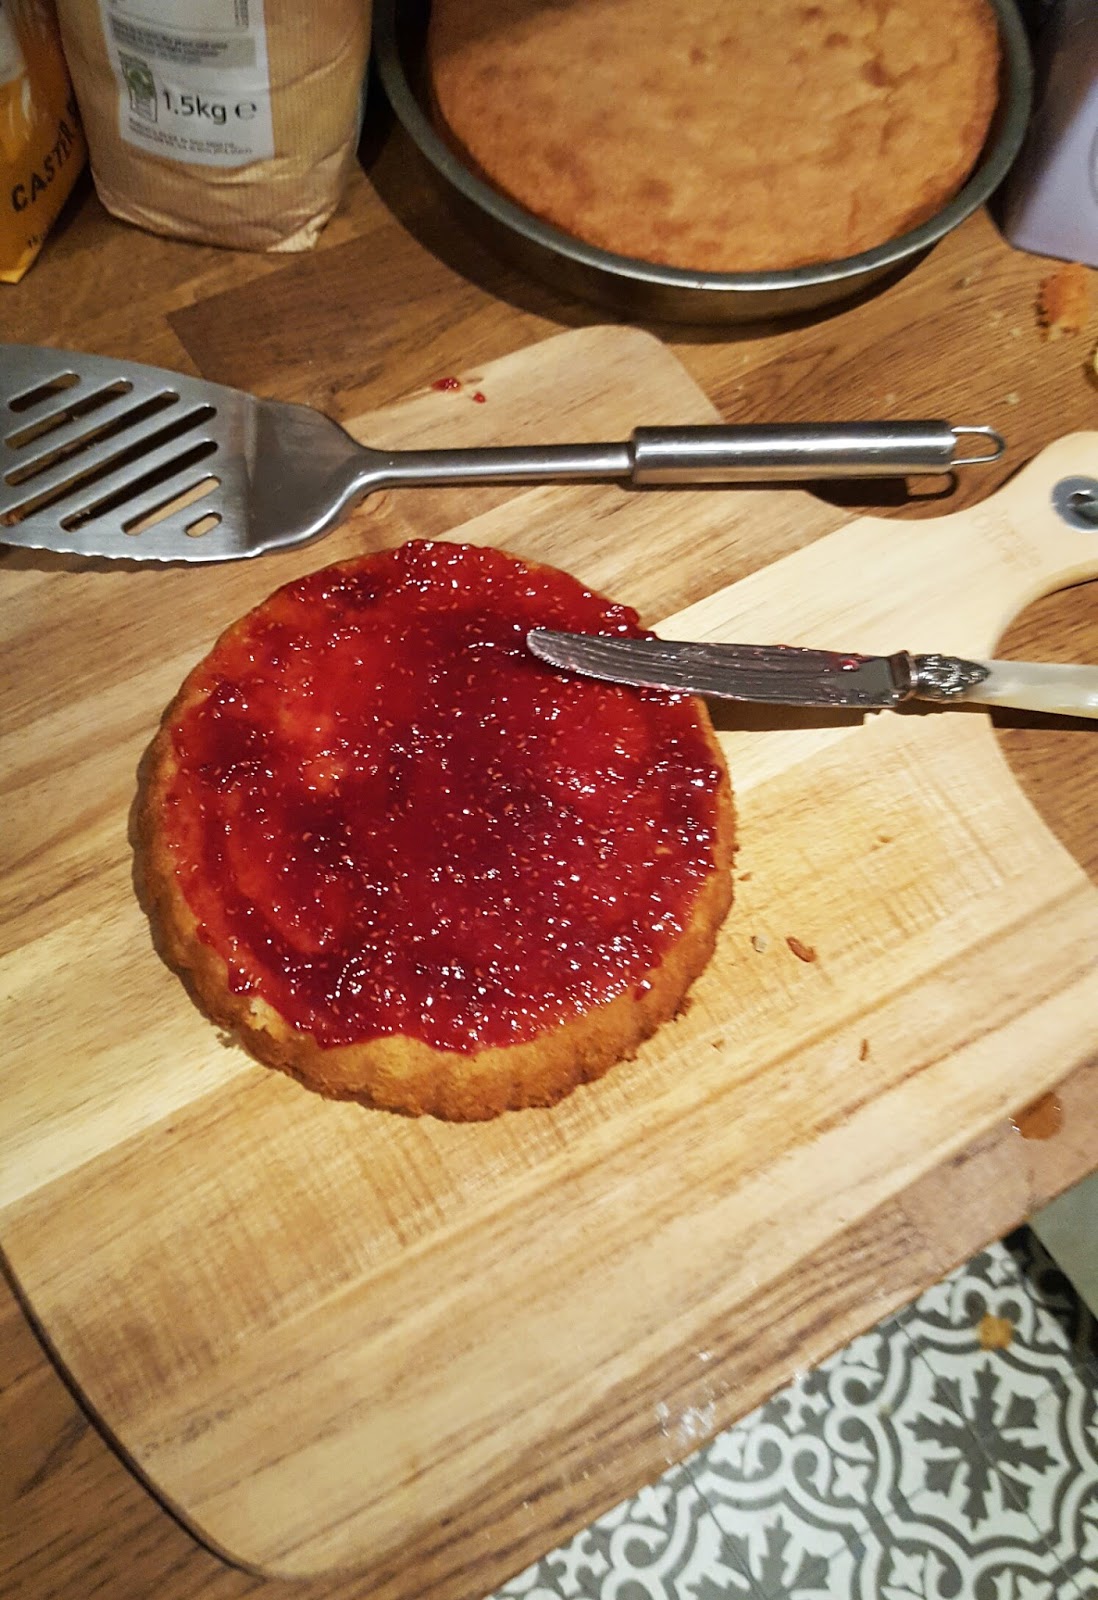
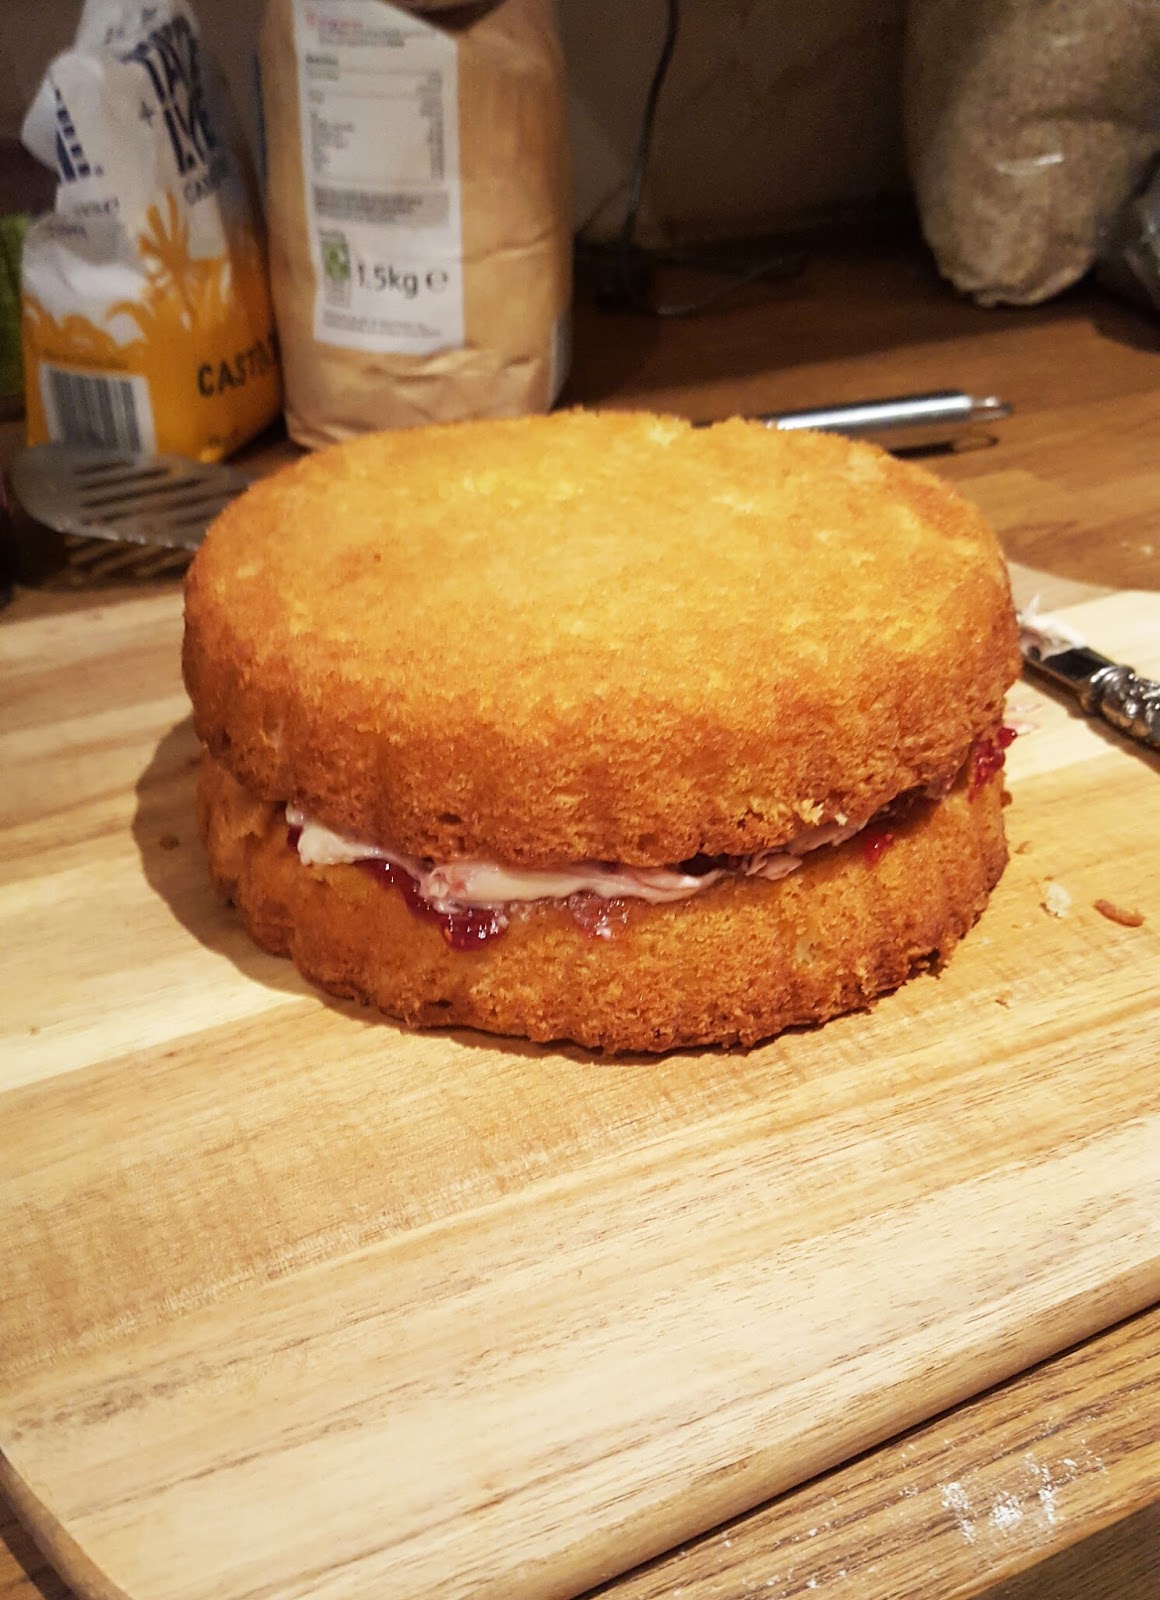
When it comes to icing the cake ready for your figures, prepare your cake by smoothing a ‘crumb layer’ of buttercream all over the cake until smooth and popping in the fridge for 30 minutes or so to set.
Your cake is now ready for the icing, so roll out your royal icing to the required size (judge roughly using a piece of string stretched over the cake), using plenty of flour to prevent sticking.
When the icing is smooth and flat, lay it gently over the cake, smoothing down to ease out any bubbles or lumps. Cut around the edge to remove any extra icing, but not too close to the cake. Now pop your figures on the cake using a little more buttercream.
Et voila, a cake fit for a prince1-year-old.
Alternative: buy your cake from Marks & Spencer and reclaim about 10 hours of your life.